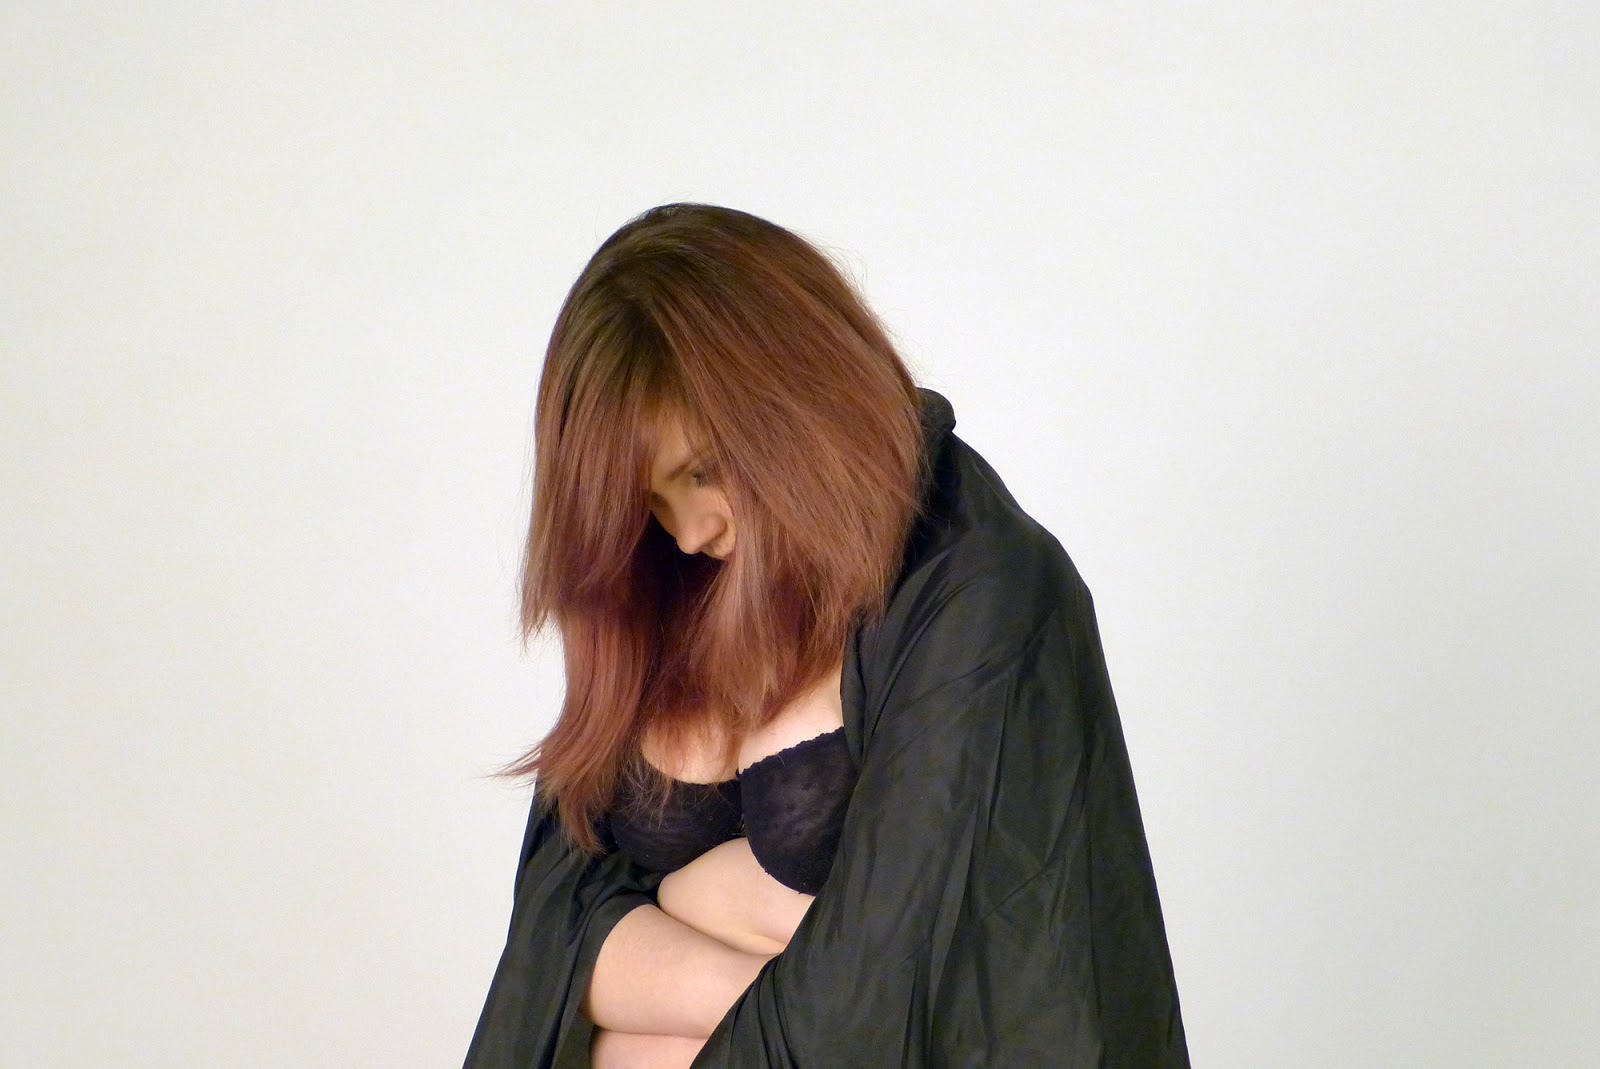
Anxiety - Body Dysmorphic Disorder
To start off with I'll explain a little about Body Dysmorphic disorder and its effects on the human condition. As the name suggests its a mental illness that consumes the suffer into obsessively being concerned with their image and parts of physical features. That it consumes them in such a way the person believes they have defects in either one or more of their features. This causes psychological distress and usually the individual becomes socially withdrawn and causes anxiety, depression and social isolation. Usually the causes for this disorder are different for each person but are usually linked from abuse, neglect which causes enough trauma for someone to have BDD. But also biological, and psychological factors as well as environmental factors can make it occur. It is a unhealthy obsession with body image and causes great stress for the person to achieve the 'ideal self' and the 'actual self.' Unfortunately this condition is linked to 80% of suicidal ideation rate in extreme cases since this disorder makes the person effected hostile towards others and become more isolated.
I planned out the photo shoot as a storyboard in my development sketchbook as I have been with all the shoots and have been doing some media tests. I did these tests in photo shop but also have began to do traditional media tests also in the sketchbook. These again are just some tests to play around with mood and tone of how I was going to use lighting and props.


Prop Making
This was the shoot I was creating the mixed media sink for to hang up on the wall, I ended up being able to create this and attach it to the wall. The sink is created with cardboard and painted with poster/acrylic paint and a shelf to balance the main part on. The taps are created with tinfoil and news paper stuck inside and ended up using all purpose glue to stick them on. I got a mixing bowl from my flat to create the sinks dip and measured the hole with that. The lovely Ronnie who works in the University helped me put the self and sink up on the wall.


Then I attached a mirror above the sink that I bought at the recycling center and it matched my original drawing exactly was a pretty happy find. We also had to use two slim pieces of wood and use them to support the cardboard to stick out from the shelf for the bowl to be placed.


I also got tiles from Poundland to stuck up on the wall around the mirror to match the original storyboard and to make the space look more like a bathroom in a simple but effective way. The reason I choose a bathroom as a scene is because that for BDD I imagine a lot of the sufferer's are effected by this disorder in their bathrooms. Since a bathroom is supposed to be a private and intimate place with mirrors and is a reflection of ourselves and our private lives. It is part of a daily routine to get dressed and ready to face the day and for people with BDD would imagine it would be a great struggle to achieve simple tasks such as this.


Meaning Behind the Image
I then added the props to the scene that were to create the symbolism and the shelf was their to be able to support them. I borrowed a jar from my classmate Maddie to put the teeth into which were the first props I managed to obtain for the project. I also added some dried/wilted roses which I have been keeping and drying since Valentines day and also a small butterfly sticker in the corner of the mirror. Now all these props do have their meanings and reasons and why I have placed them in the way that they are.
For the teeth which have a lot of meaning to do with youth and our health and how we want others to perceive us. It is a common to dream about our teeth falling out which symbolizes our fears and confidence about how others view our image and us becoming older. Teeth are also a symbol for aggression or lack of it since teeth are bared in anger.
The roses are a feminine symbol and usually represent the female genitals and the menstrual cycle and of life and death. Since the rose is usually a highly regarded flower to place upon graves and at funerals as well as a gift to those who are living. Roses also can mean secrecy since its petals can indicate hiding and when the flower is closed. The color red also indicates power, authority, passion, sexuality and blood as well as love. Because the roses are wilted and near the bottom of the image with also the teeth this is to subconsciously be a more negative portrayal of the person.
The other more subconscious symbol is that of the butterfly on the mirror butterflies have a vast portrayal of meanings. Heavily associated with the theme of change and transformation as it transforms from its cocoon into something more beautiful and free. Butterflies are also associated with the soul since the Greek word for Butterfly is `psyche' that the insect has connections with the spirit. The Butterfly is also the color blue which can mean wisdom, peace, contemplation and eternity. Blue is a color that can be used in negative and positive context meaning happiness and also sadness and depression. I played the butterfly higher up in the image to represent this as the reflection of the model's head and eyes will be near the butterfly to create a subconscious connection with the mind and psyche. The longing to be beautiful and free within their own minds and bodies but are trapped by them selves and the reflections within the mirror.


Sadly my model ended up not being able to make the shoot and my classmates suggested I stand in myself and they would photograph me. I got the help from Sarah and Aimee and they also helped me with the lighting and adjusting the masks on me which was a bit tricky.
I wanted to use masks to represent our appearance and how we present ourselves to the world and to others. That theirs parts of ourselves we keep hidden and this could be externally and internally and our power to create different identities or from the one we have. They can be linked to devious and manipulative behavior such as lying and distrust and can be the cause of fear and make a person expressionless.
Mirrors have also vast meanings but for the Photo shoot I wanted the mirror to be a strong theme of the persons perception of them self's and their image. That the two sides of the person is reflected in the positive and negative such as the black and white are on the tiles around the mirror. As well as the two masks being black and white to express the two different sides people have or can create of them selves.


We had some trouble with the tiles and they kept falling off or sliding down the wall but with some extra glue and blue tack that did the trick. I was wary about using myself as a model because in semester one I was graded down for using myself instead of models/actors and this is a worry of mine. But because of time and studio restraints since University is becoming to more busy for the degree show it's getting more difficult to arrange studio shoots/models/spaces. I want to be proud of this project and I would like to see the final results of my ideas and went ahead with the shoot with myself.
Lighting tests and Digitally Edited Possible Final Pieces
We went ahead and for the first set of photos we used natural light as it made the scene seem like more of a bathroom. It was really interesting to take the photos with a mirror since I actually had to stand not directly in front of the mirror to get the right angles for reflections. As for the reflection's behind me we used black and white sheets on a whiteboard to get rid of all the other stuff in the studio to create a solid backdrop. These photos were also edited and cropped in Photoshop and some were not even edited apart from cropping.


We also tried some side pictures as well as some close ups keeping with the theme of being able to see the two masks on the model and in the reflection. We also tried changing the backdrop to the white sheet to get a cleaner crisper feel more to a bathroom.


This photograph was an accident as I walked past to check up on the picture results but felt it created a pleasing effect and included it here.

We also began using the lighting from the left hand side and we set up the Arrlite 300 lighting set for this shoot as I wanted a softer light. The lighting has made quite a dramatic effect and has made shadows cast quite far and defines the skeleton and grooves on the body.


Experimental side view of the masks on the models head creating opposite of the black and white.
We also tried the other side to take photos from a different angle as well as placed the lighting on the other side and a extra light was set up. It surprisingly caused the lighting to be more muted and a lot softer.


This has been the third photo shoot and I think it went very well especially setting up the sink/mirror and tiles for the bathroom scene. Which I thought would be more difficult to achieve but I feel it it has worked quite effectively. Was quite happy with the overall image since it is basically the same as the storyboard drawing. I have arranged another shoot with a model next week but hopefully I'll be able to use a studio since the bookings are pretty full. I'll be putting up my further progress with props, sketchbooks and my work space in the studio soon.

Thanks to Sarah's hand that's going to eat me and Aimme for helping me out lots and Alastair for showing me how to make GIFs for the first time!
What a weird GIF to make for my first one hahaha!