Student project blog exploring the themes of anxiety and how it can be understood and portrayed through symbolism.
Semester 2 project at Duncan and Jordanstone college of art.
Been busy setting up the assessment space in the last push for marking been very busy in the studio tidying up and getting everything ready. I ended up using another space for the assessment but I'm pleased with the way its been turning out. My original plan was to set up all the bigger props such as the bed near all the prints on the wall. But my new space is a little smaller so been improvising.
I collected a spice rack during the project and have painted and set up it up on the wall. Cleaned all the bottles and filled them with various small parts of each photo shoot.
They are representing the different parts of the anxieties and their
stages from the start of the anxiety to the collection. This is because
the first bottle has blue ink inside it and the last bottle has pills
inside it. And the inbetween bottles are the stages of symbolism and parts of each shoot of the journey of an anxiety disorder.
This is the new space.
These are the gradual stages of setting up the space I set up all six images, painted the spice rack whit, and painted the small table and chair white.
Began to add title of each piece which is the six disorders that were chosen for the project and statement also.
Also made labels for all my sketch books and folio case also set up props on my small table and added QR codes onto the bottom corners.
Artist statement.
As some extra work I also mounted and sorted out my extra A4 and A3 prints into a folio folder along with my smaller photo album.
It's been a long but fruitful process I feel positive about the project and that I learned a lot. Especially about improvising and making things work out when technology breaks or working with others doesn't always go to plan. But it was a great experience to work in studio environments and being able to get back into photography and using software such as Photoshop again. Also getting to work with models and becoming more confident about directing people and working with them to create pieces. It also was positive to learn about how to present and display my work in a more professional manner since I didn't have much experience of that.
For some practice and experimentation with my camera which is a fairly new gift and is a Panasonic Lumix FZ150. This is the camera I plan to use for my photography project and been trying to get my head around the settings and how it works. I hope I can use it properly for when it comes to doing the final photography as I want it to be done well.
I'm pretty rusty with photography since it was something I used to do a lot and often but now this is the first I've did it artistically in a long time. And also using other people for subject matter such as models which I hope I can do well and form good relationships professionally. But in doing so I'm learning new things about photography such as traditional cameras and setting up for a studio shoot. Such as lighting and how important it is, as well as simplicity and how it can be just as effective.
I asked the lovely Alastair if he would help me practice use my camera with different settings and under different types of light. Also wanted to see how shadow worked on facial features and how it can change and portray moods'.
The light source for these pictures are quite big stair lights and have a yellow hue but some of the landings had various degrees of how much light was available. For instance the light source for this was coming from the right top hand side and created a strong profile shadow on the left hand side.
The light source for this one was from the same right hand side but did a full on frontal view of his face and slightly in front of the light. This shows the varying degrees of shadow and light reflected on different features. Also how photographing different angles of the face can change mood and expression dramatically.
This light source was more white in color and their was scaffolding around the figure which created a more blue hue with shadow. The light source is from the left hand side this time and you can tell from the light shine in the subjects eye that it is side on. The white light created a more softer light on the face and skin and not as harsh as the previous pictures. The three last pictures were all on
Aperture setting.
These two pictures were experiments on angles and the distance of the figure away from the camera. To examine different types of shadows and how the camera and photographer them self's can make a difference to the amount of light and shadow on the figure. The light sources here where to the right and up and on manual setting. This was me also playing around with how much manual focus from faraway and how the shadows on clothes/fabric looked.
Different angle shot how much light bounces off the face.
This was a test for a dramatic shot to do with focus and atmosphere to set a different mood and how lighting looks in darker tones. The light source is above the the figure and to the right again but the figure is in front of the light source and has the banister bars which create more shadow. The bars also being in front of the figure can set a different meaning to the photograph all together by viewer interpretation. The light source is only really visible on the figures shoulder and in the folds of the jackets arm which are quite bold.
These are just experiments and for me to get more aware of lighting and how important it is for photography. My Tutor has given be really helpful advice on this and I'm glad it has made me more aware of its capabilities.
Yesterday I decided to jump into one of the studios on my own to practice in a studio situation and to play around with some of the props. It has been a while since I've put even photographs into Photoshop so this is practice for editing them as well. Used simple netting fabric and played around with it to see what kinda expressions and moods I could get.
Photographs tone is slightly been edited it and the camera is on AI setting which is an automatic setting.
Non edited.
Edited
Non Edited.
I found it interesting how the edited photographs gave a more cleaner feel like the figure is out in fog or snow, even ghostly. And how the non edited color tones of my skin have made the photography look more medical or sickly.
Playing around with different angles and focus these are just some tests before I go further with the photographs and editing. I will be in a studio tomorrow with a model and trying out lighting and props I'm a bit nervous but I'll see if I can make things work. I'll post my results soon and also carry on anxiety research and props.
Been watching silent films for research to get a better feel and look at peoples expressions and body language without spoken word. One film was that of 'The Cabinet of Dr Caligari' (1920) which is a German silent horror film with the heavy style of German expressionism. The sets are all hand made and have surreal perspectives and jagged edges making a bizarre environment for the characters. The actors also use very excited and exaggerated gestures to add to the strange mood. It was interesting to watch a very dark but beautifully crafted film that had the same tones that I felt related in ways to my project.
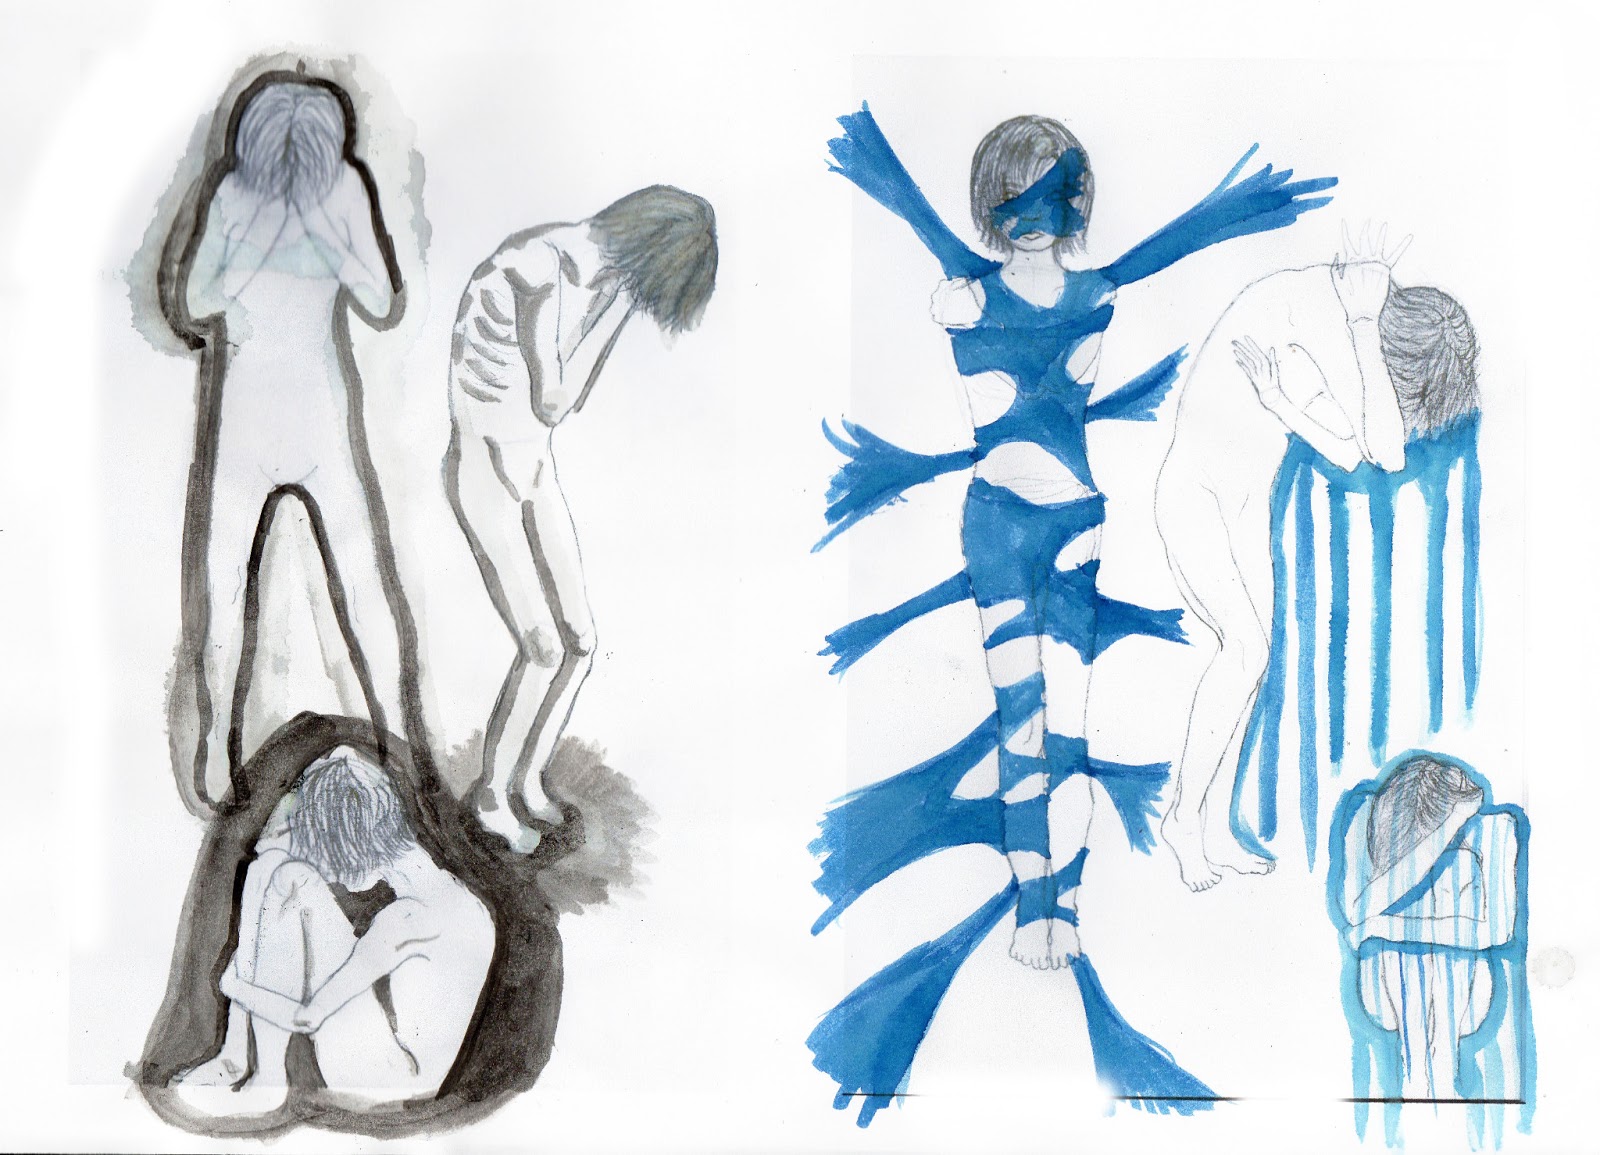
These are the sketches I did based on the photography of myself in various different poses. Their to express negative body language and to get a feel for what I want to do when I get into the photography studio. I have did some media tests with ink since I'll be using this and other medias for further studies and for the Photo shoots. Also to practice being more expressive artistically and to ease into drawing for when I'm story boarding.
Also have made a small advertisement to ask for models around the art university. Some have been put up around the building now and I have had some interest already which is exciting. Some classmates have volunteered also to help out and I'll be doing a photo shoot with one shortly which I hope goes well. Not actually did a photography series with models before except myself so I feel positive about learning in this experience.
These are some sketches that I have done for the storyboard of each shoot. Their may be more planned as I have been still gathering materials and planning out each shoot. I find drawing storyboards for the model's to look at to show what is inside my head is very useful. As a visual representation of what I want to achieve and how I want them to be posed and also for the props. I'm open to suggestions for the models as well as trying out different things with the angle,lighting,props, etc. Since this is all for experience and learning.
These are planned out to relate to different types of anxiety illness's and disorders and I will be using different medias and plans for each one. As well as planning how the props will represent each meaning and what they represent. As an example the image right above this one is about how depression controls us and how it effects our lives. Part of the symptoms is high phases of fatigue, Insomnia, unhappiness, agoraphobia, and difficulties in commitments or relationships. As experiencing this myself and researching it seems a big part of it is being so unhappy you cant get out of bed and face the day. And the model being in a bed with chains wrapped around that is supposed to represent this. But this may be elaborated on further with props or meanings and the storyboards will be worked on further.
This is also my work space just now in the studio I find its its better organized and to get my thoughts and ideas better together. The sticky notes are ideas and findings on what I have found inside the symbolism books and are ones that struck me the most for imagery and attainable props.
These are the props that I have managed to collect in the past couple of weeks which includes different colors of fabric, black and white paint, a spice rack, a mirror, butterfly stickers, tea set, a mask and false teeth.
The teeth were kindly given to me by the dental hospital and they were really helpful and friendly and even showed me how to make my own. They gave me plenty of sets and molds to use as I please.
The reason I have asked for teeth in the first place is because teeth have a high meaning in the unconscious and especially in dreams. If you dream about loosing teeth this is because your unconsciously afraid of what others perceive you as and aware of your self image. It can also represent growing older and loosing power since bearing teeth is a sign of aggression.
I have started to paint one of the sets to see how well the clay can take paint and they may be used for a photo shoot. I plan to try to make them look more realistic in color and use varnish to make the teeth have the slight gleam they have. These may be used for installation purposes and if the project goes well.
As for the first experiments with photography I used a set of the false teeth since they were the first prop I managed to get a hold of. I would like to use them in a studio setting with models but these were just tests for something simple with simple lighting.
How the tone of lighting can set a completely different feel and mood to an image and the context of an image even if its simple. For instance how the different way the hands are holding can convey a different meaning and gesture. This will be explored further as I get more lighting and photography tutorials in University. As well as more experimentation within a studio environment and with different props and lighting. I will be looking into lighting a lot further and will be experimenting with a model in the studio shortly.